How To Edit Images On The Go & How I Use VSCO Cam
Whilst Photoshop & Lightroom are incredible editing programmes they're not available for everyone and they're not always my first choice when I'm in a rush. So finding awesome editing apps or software that's more widely available is something that I'm always on the hunt for. Today I'm going to be sharing how I use VSCO cam to create images for Instagram and my blog and how to transfer your images across from laptop to phone without the hassle.
TRANSFERRING IMAGES TO YOUR PHONE
For years, I've faffed around with wires making separate folders and hooking my phone up countless times to transfer images to and from my phone. I recently discovered an app called Send Anywhere which is a programme you can install on your computer and phone and it allows you to send files across instantly. All you have to do is input a code and then save the file to your phone, it's really that simple. E-mailing yourself is another handy way to do it and I think this is the way that many people have been doing it for years but I prefer Send Anywhere as I can send multiple images that have no limit on their size which can be an issue with sending images over e-mail.
USING VSCO CAM TO CREATE A CONSISTeNT THEME
By far my favourite app for editing images on my phone has been always been VSCO cam, ever since I discovered it in around 2012. It's been through a lot of changes and development and one that hit most people the hardest was where they changed the grid and it allowed you to plan out your feed. I know for some the thought of planning out your Instagram feed is very contrived and takes away from the point of it being an 'instant' way of sharing but let's be honest it's not been like that for a long time. As I use my Instagram platform as more of a portfolio of images I love as well as a few personal ones I found the grid function really handy. The grid is back now, it's not as good as before but it's better than nothing you just to make sure that you've got it set to your preferences.
EDITING WITH VSCO CAM
Seeing how people edit their images is something that fascinates me. So I thought I'd give a quick overview of how I do it for both images I would happily put on my blog as well as my Instagram feed. And show the difference in the quality of an image shot on my iPhone 6 and my SLR and the adjustments I make depending on what I've shot an image on.
IMAGE FROM MY IPHONE
After
Before
Editing
Steps
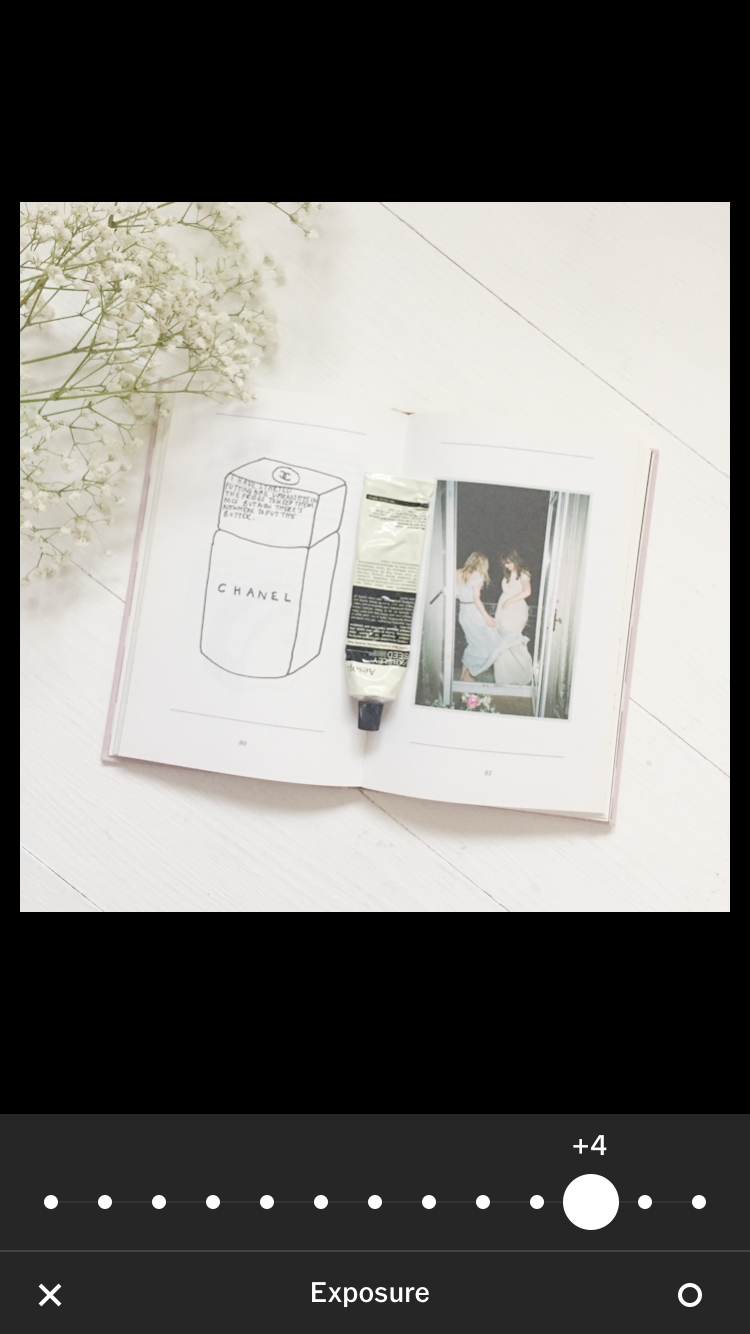
- EXPOSURE: When we're blessed with beautiful blue skies the exposure button isn't something that needs using as much as it does in the winter months. And even though I love light & bright images over exposing means loss of detail. When taking images with your iPhone I always find because you can't control the in camera exposure as much as you can with a DSLR then you do have to rely on adjusting the exposure a lot more.
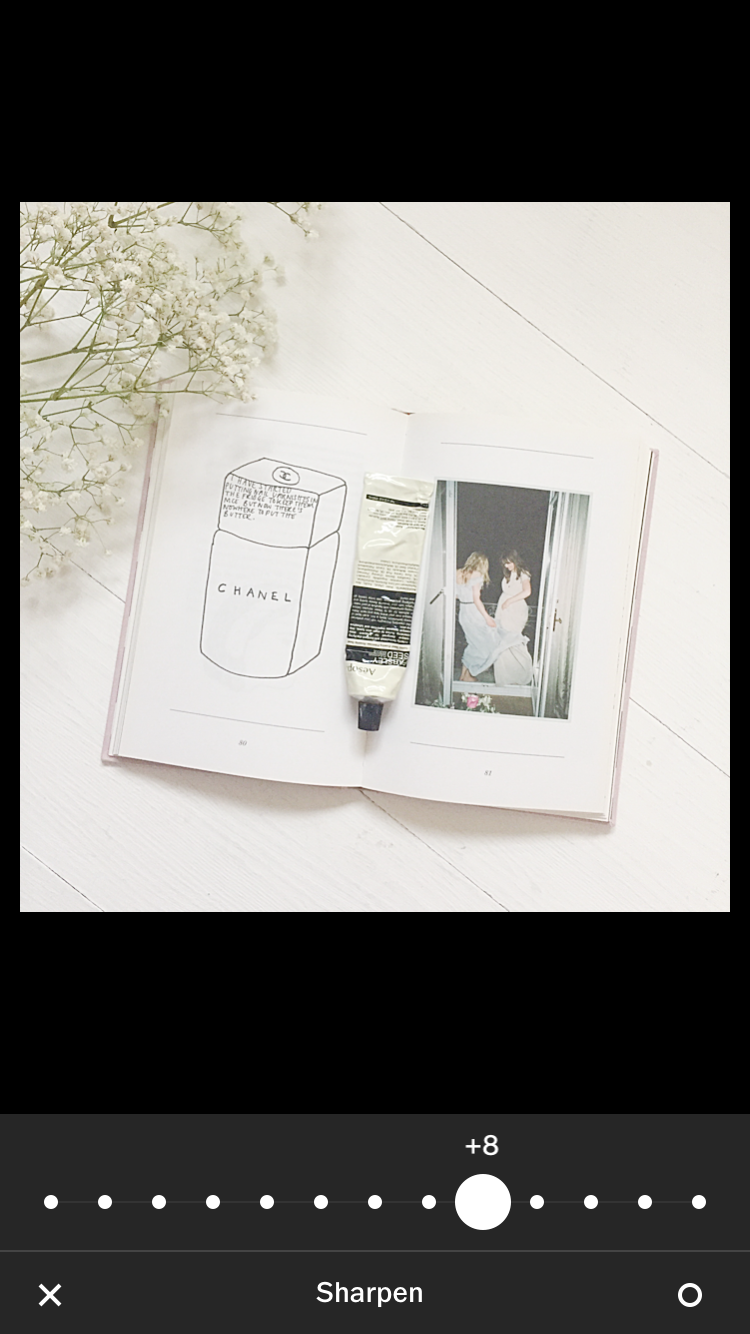
- SHARPEN: I have a love-hate relationship with the sharpen tool as it can be hard to know how much to apply. On VSCO Cam I've found that around 8 is just the right amount for bringing everything into a focus a little more without it making things look a little odd.
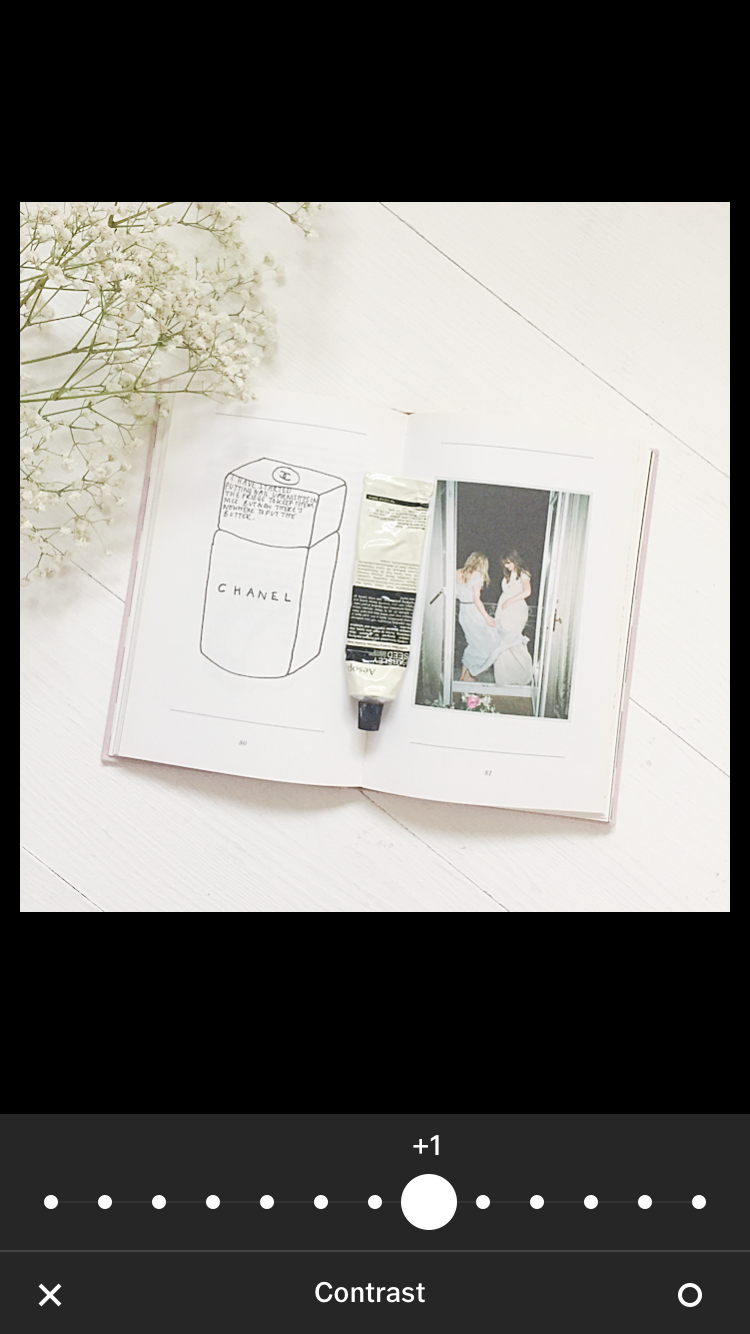
- CONTRAST: It's rare that when editing a picture that I don't tweak the contrast slightly as it the easiest way to help the blacks look deeper and whites look brighter.
- FILTER: The Hypebeast filters are a pack that I downloaded from the VSCO Cam store and in general, it's always the filter I go for as I love the colour palette. I always tone down the intensity of any filters I use as they can be a little overpowering otherwise.
IMAGE FROM MY DSLR
Before
After
Steps
- EXPOSURE: When I've taken an image on my DSLR on a tripod I don't have to adjust the exposure that much as I've controlled it in camera. But things always look a little different on the camera screen then they do when you've uploaded them onto a screen. As of right now, I'm preferring to shoot on my SLR more than iPhone as I prefer to be able to control the light and achieve the highest quality image that I can but I don't think that iPhone quality is anything to be dismissed.
- SHARPEN: Again just to bring out the details, I find that whether things have been shot on a phone or a camera that they could always do with a little help.
- STRAIGHTEN: I think the straighten and perspective tools are one the great options available on VSCO cam. They can make all the difference in the world to the overall outcome of your image.
- FILTER: Same as before!


